

 |
|
| Robot Reference->Construction Tips->Lifter Casting | |||
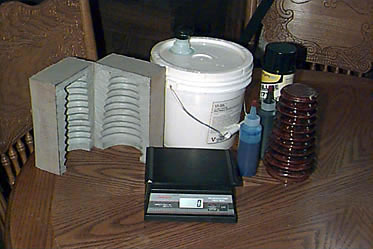
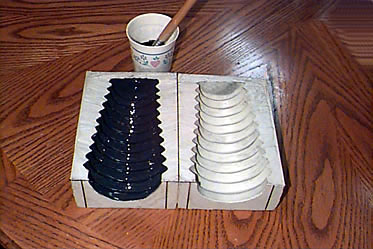
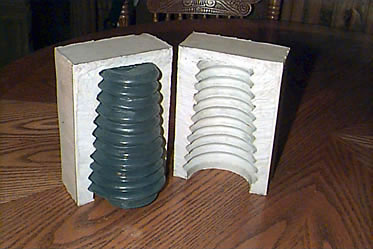
By Dewey H. The supplies to make a bubble lifter include a master from which a mold is made, silicone rubber, catalyst, pigment, and a good digital scale.
NOTE: Although casting the bubble lifter is relatively easy, getting to that point can be quite complicated for the average builder with no experience in mold making. The master must be perfect if casting with rubber since there can be no patching up after the cast is pulled from the mold. The chemicals that make the rubber mold must be precisely measured and mixed. Most rubbers only allow a 3% error before the rubber won't set at all. Silicone rubber can be expensive also at about $110 per gallon but for this project it is perferred because of it's coating properties and strength. Overall this project requires above average skills to complete.
|
|||





 Lifter
Casting