Leg
Mold - Page 3 Leg
Mold - Page 3
By
Dewey H.
| Page
1 | Page 2 | Page 3 |
Making
The Mold
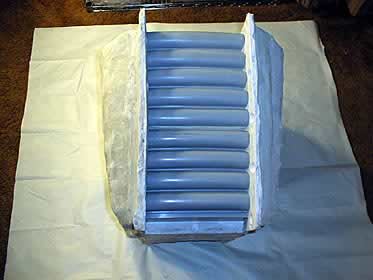
The master is flipped over once the second section of the mold is
hard.
The same exact procedure is followed on the third section of the
mold now giving us a front and back.
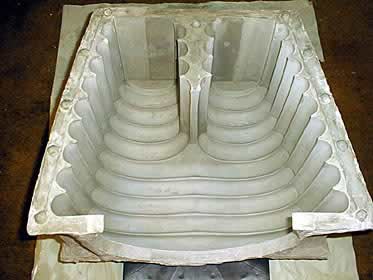
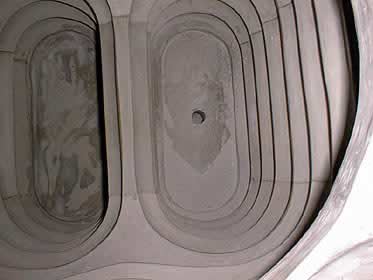
The same procedure as previously described is used to make the remaining
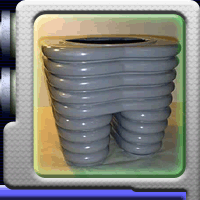
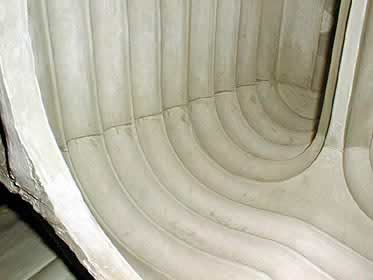
two center section mold pieces as shown .
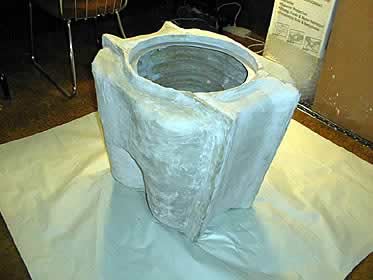
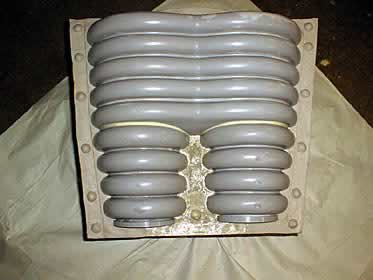
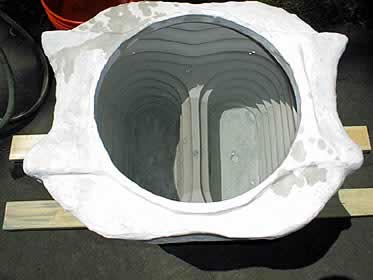
The completed mold. Once the mold hardens the edges are pounded
to remove the mold flashing and to expose the seam lines. The entire
mold is vigorously rocked back and forth to loosen the master (the
mold now weighs approximately 125 pounds).
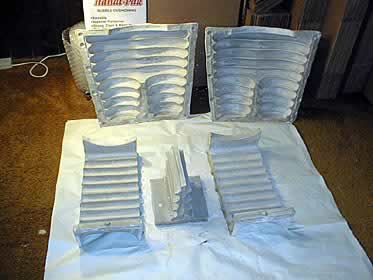
As it is rocked the front and back sections start loosening and
can be layed down and the sections of the mold can be removed. The
sections are left to harden for several days.
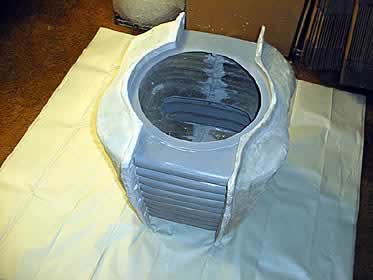
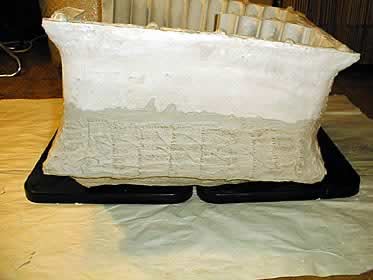
The mold sections are then thoroughly cleaned and the first four
pieces are reassembled.
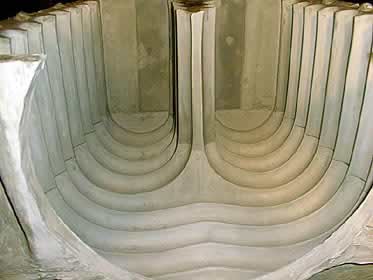
All small breaks are repaired with Ultra Cal and the seams are filled
in.
The seams are then wet sanded until smooth and match the rest of
the surface area.
After all seams appear smooth to the touch the outside seams are
sealed with more Ultra Cal and a layer of burlap.
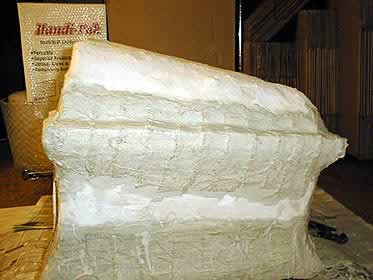
The last section of the mold is now put in place and that also is
sealed with a layer of burlap. Straps
are added to secure the mold together and more layers of burlap
and Ultra Cal applied for strength.
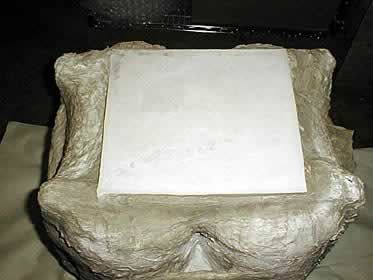
A new bottom base is made to further lock the pieces together and
give a level bottom for casting.
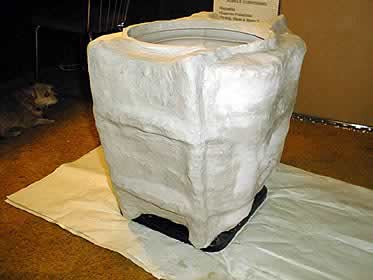
More Ultra Cal is applied to get a uniformly smooth outer surface.
The two ridges seen are the embedded straps. The mold is now in
excess of 150 pounds and is hauled outside to the garage.
Holes are drilled in the bottoms of both legs for drainage pipes
for the latex.
The mold is filled with water to determine how much latex it will
take to fill the mold completely. It took 25 gallons of water.
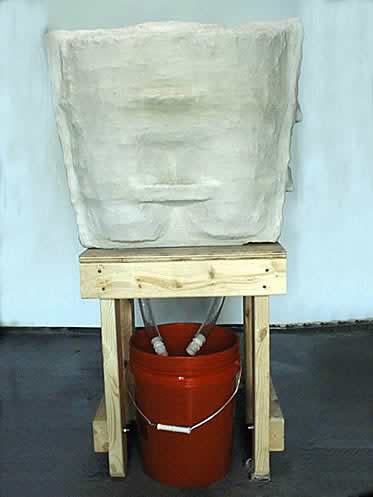
A stand is made to support the mold and allow a drainage system
underneath.
| Page
1 | Page 2 | Page 3 |
|