I recommend
using a thin (watery) fast curing acrylic solvent to glue the
flanges to the buttons, however E6000 can be used as well. E6000
is equivalent to Goop, and available at craft stores. If
you use acrylic solvent, do it in a well ventilated area!
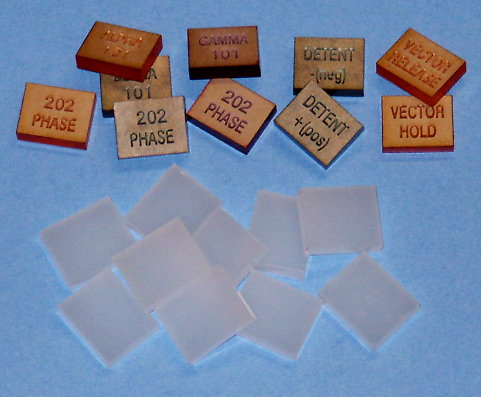
Start with the red
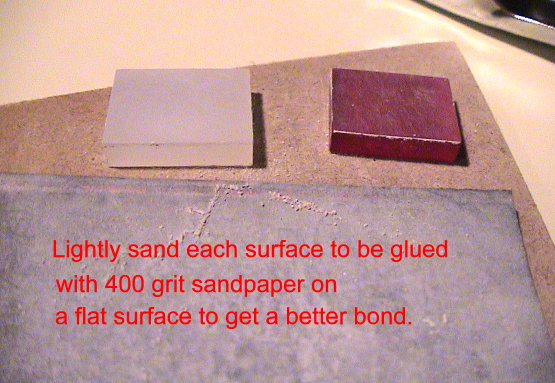
and green buttons, and glue the amber buttons last. Lightly sand
the surfaces to be bonded with 400 grit wet/dry sandpaper on a
flat surface to get the best bond. Keep the piece flat and apply
even pressure while sanding so you don't round the surface, then
make sure to clean all the sanding dust off. Put enough glue on
the button so that when you squeeze them together, the entire
surfaces have glue between them. I recommend putting the acrylic
solvent or E6000 in an "X" pattern on the button to
insure the glue gets all the way into the corners when squeezing
them together. Excess acrylic solvent will evaporate, however
you will need to clean off the excess E6000 within a few minutes
after gluing. You can use the corners of small pieces of cardboard,
your finger nail and a paper towel to clean off the excess. Make
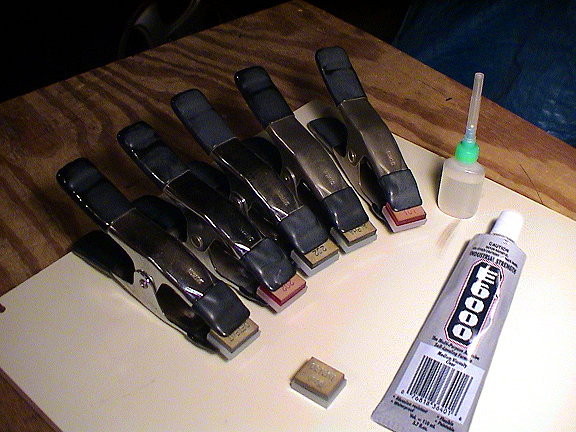
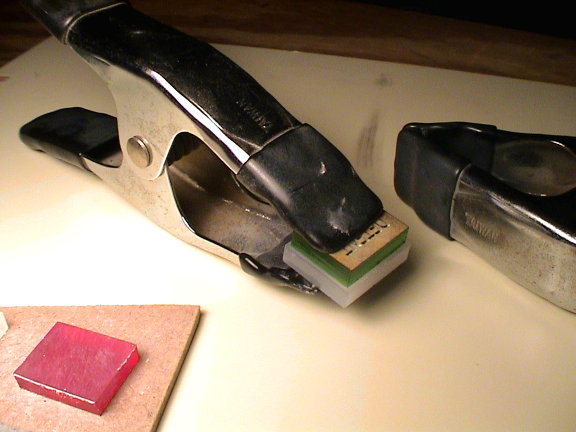
sure the button and flange pieces stay centered, then use a spring
clamp like the one in the picture to hold the two pieces together
until the solvent or glue is fully cured (about a day).
To paint the
text, use a small brush and flat black acrylic paint (available
at a craft store).
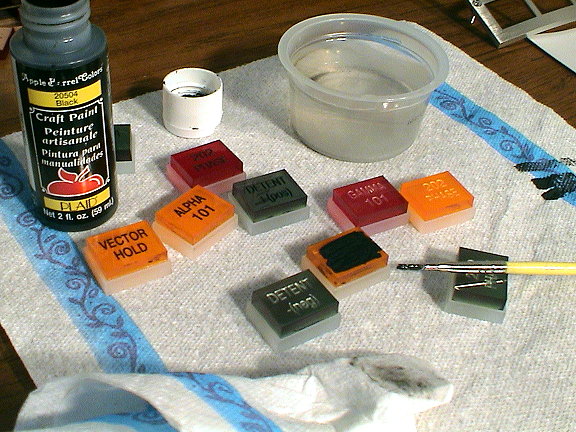
Paint the text with
a generous amount of paint making sure to get it in all the nooks
and crannies of the letters. Wrap a paper towel around a small
piece of acrylic (about 1" x 1" or the back of another
button), wet it very lightly with water then wipe away the excess
paint. Move to a clean part of the paper towel and repeat the
process until all the excess paint is removed.
To achieve
a matte finish to the buttons, you can also lightly sand the face
with 400 grit wet/dry sandpaper after painting the letters. This
also makes it a bit easier to paint and has the effect of cleaning
off any excess paint. This also helps hide any imperfections in
the glue between the button and the white flange backer.
Take your time, do
it carefully and your buttons should turn out beautifully!
Craig


 Button Finishing Instructions

