Updated:
06/06/2015
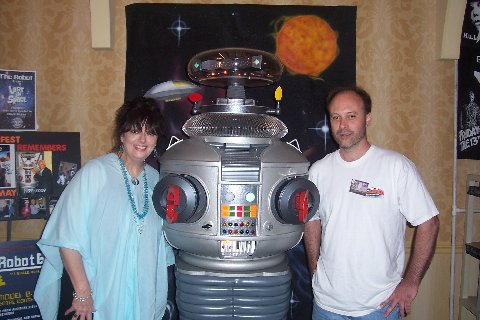
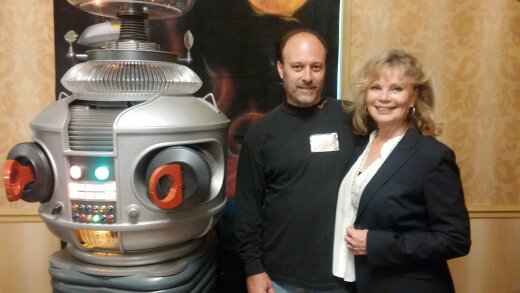
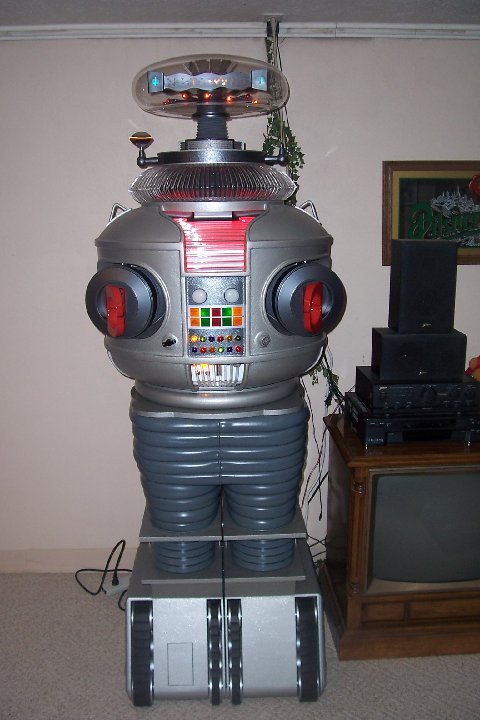
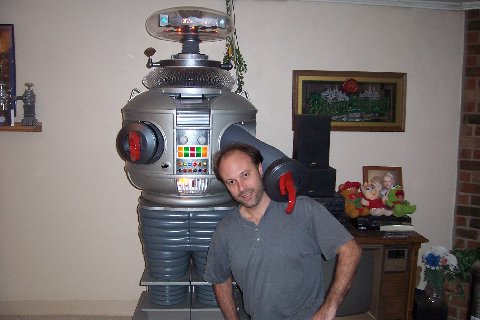
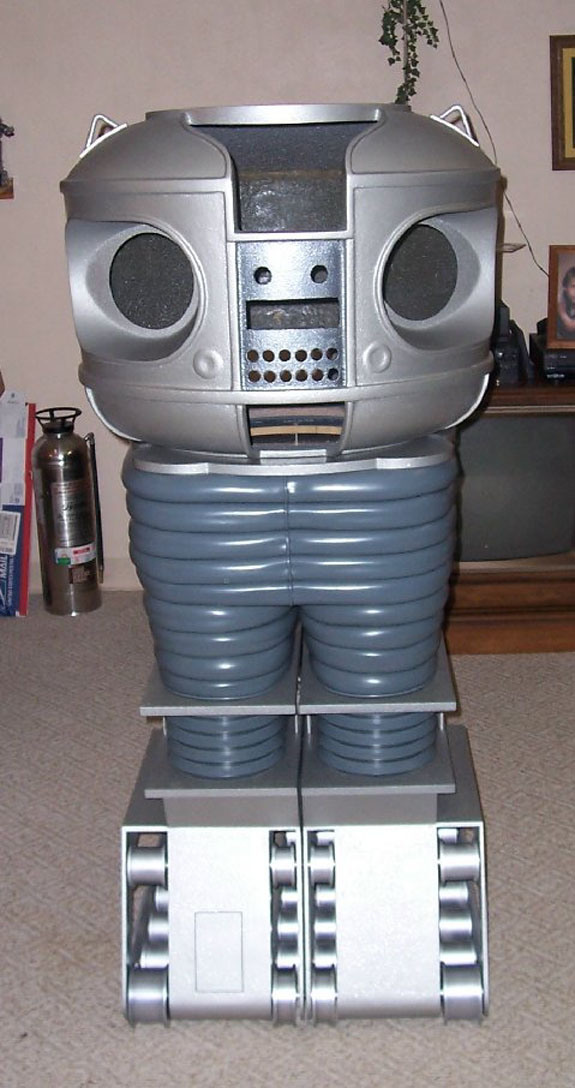
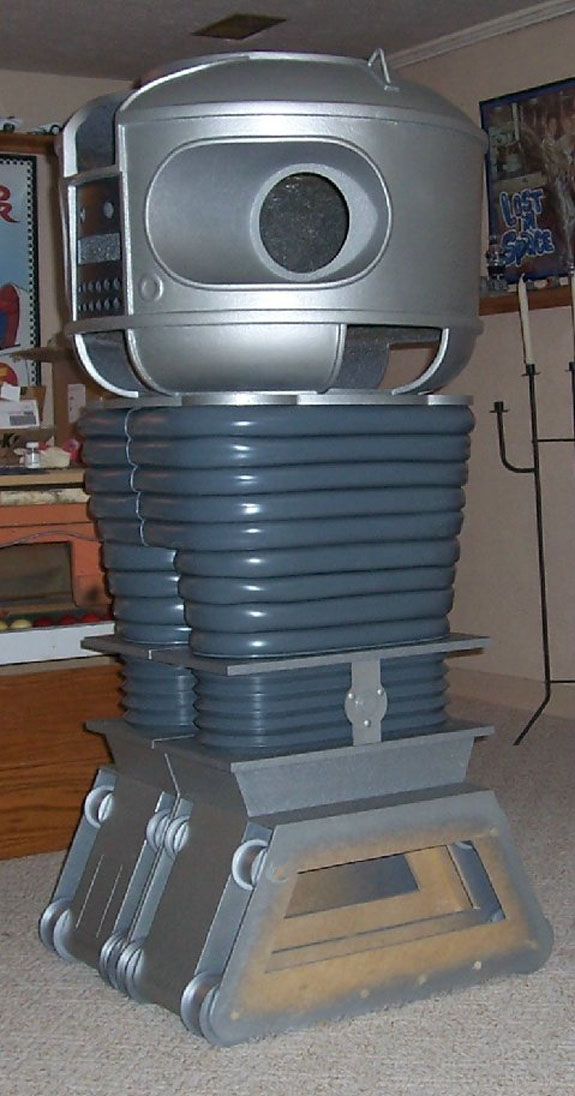
He's complete (for now). He's getting lots of attention!

Updated:
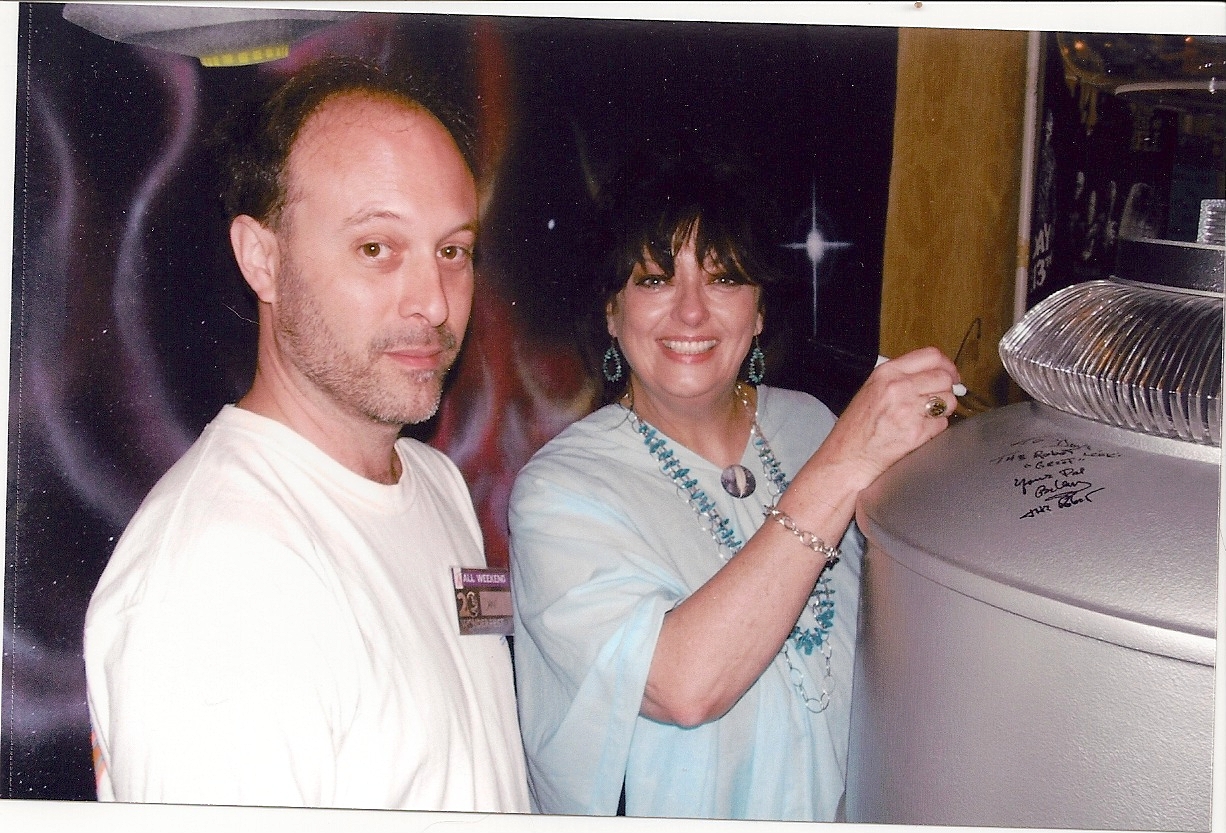
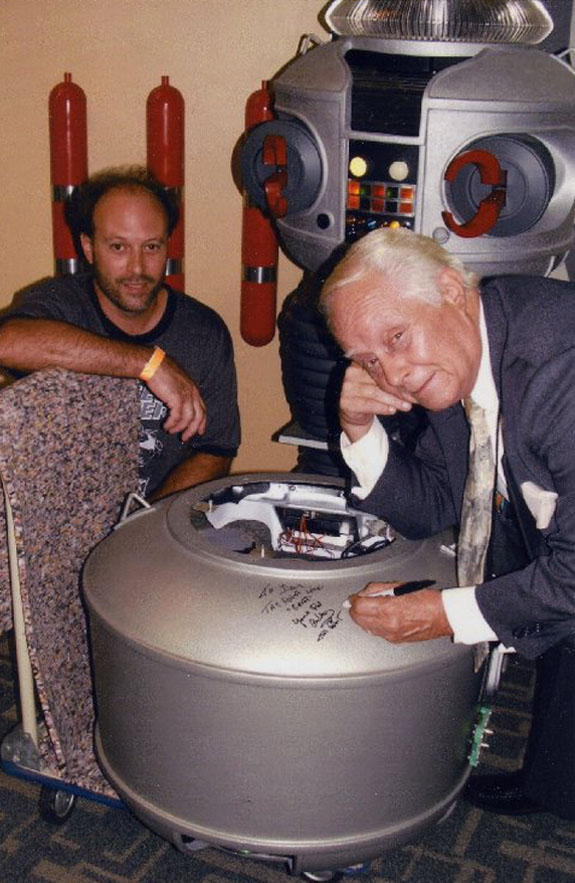
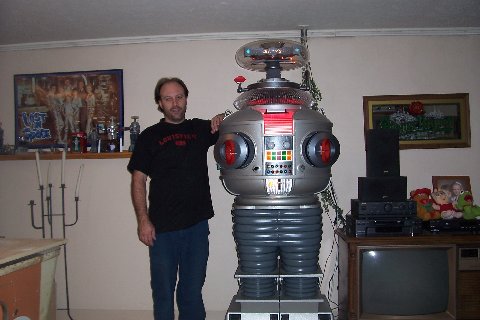
09/12/2007 - I finally got to do something I had always wished
I could do. I had Bob May sign my torso. Here's the
story on this picture. When Bob found out I was in the club
he told me how much he appreciated all of us builders. He
told me if it wasn't for us doing what we do, he couldn't do what
he does. He then asked me if I had brought a camera.
I was so nervous about taking my torso on it's first trip I completely
forgot to bring it, I felt so stupid. Bob reaches into his
pocket, pulls out some money and says, "I don't do this for
everyone but since your a B9'er" then hands it to the guy
who's taking pictures says to take a picture of him reenacting
the signing so I could have it. Is that cool or what?
Updated:
01/15/2007 Here's a short
video ( 4MB .mov) of my Robot.
Updated:
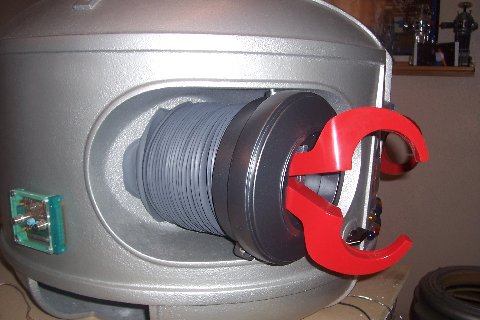
12/20/2006
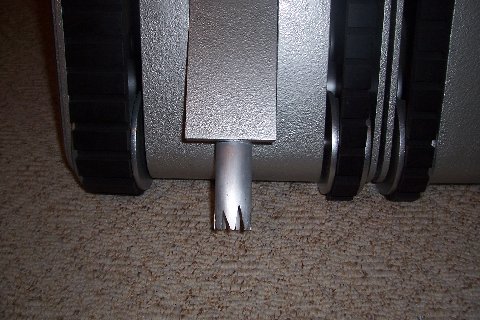
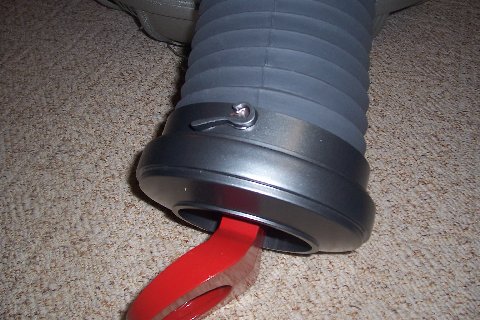
This
is my tread section carrier. I take one side off, slide the rest
of it in the knee sideways, turn it and reconnect the other side.
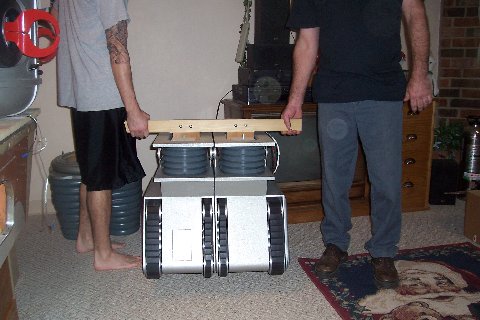
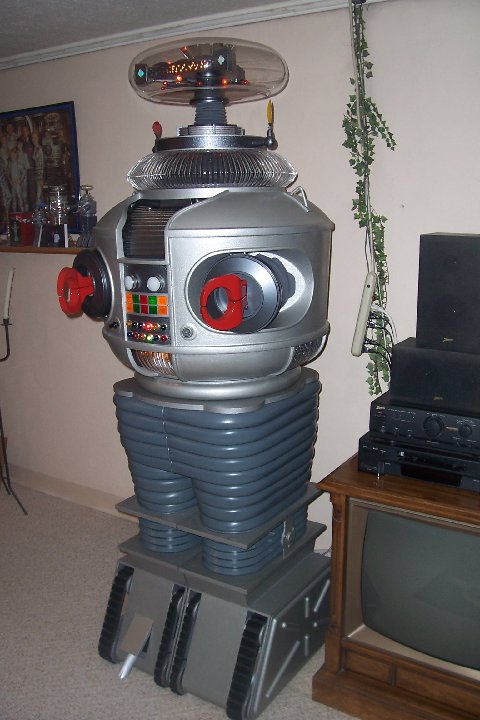
After a little more than two years my robot is done. I couldn't
have done it without you guys. Thanks for all the help and support.
I cut a triangular piece of wood and attached a 1 1/4'' pipe to
it.
Updated: 10/03/2006
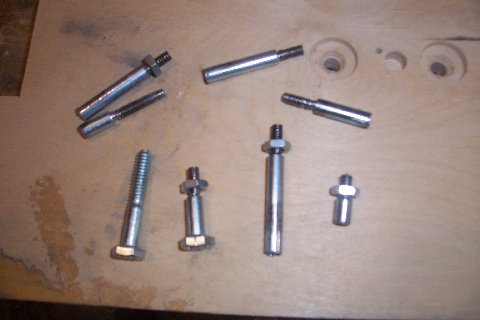
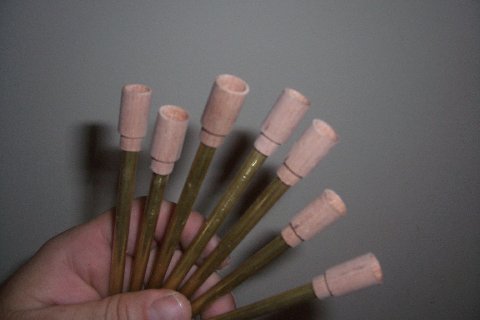
Here's my torso wrist pins in various stages of completion. I
cut them to the finished size by chucking the pin in a drill and
spinning it while I cut it off with my drimel tool.
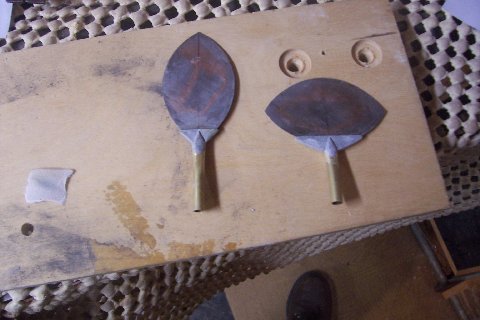
My torso hooks are made from a high quality plywood. I covered
them in fiber glass resin then glued them to the wrist strap with
PC 7. Thanks to Michael Davis for the strap and hook specs.
Updated:
09/18/2006
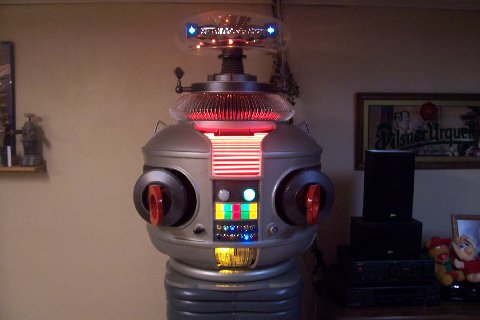
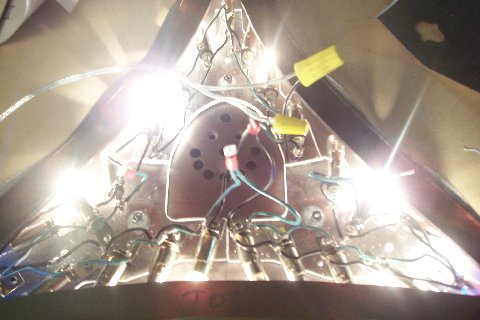
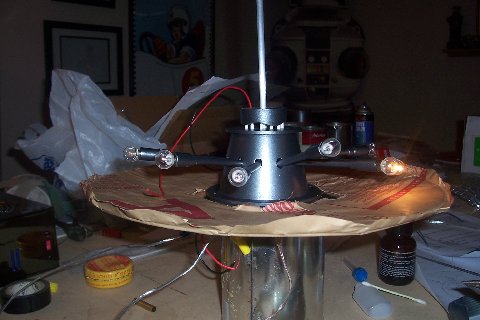
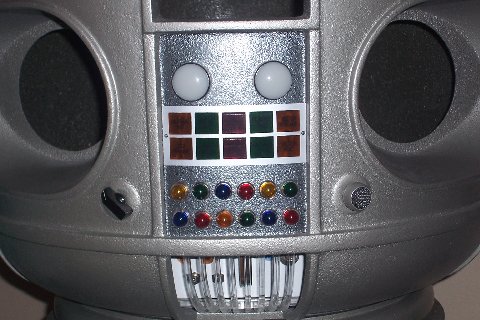
I made the brain out of styrene. My lights are standard flashing
lights on a B9 Creations inspired Plexiglas board.
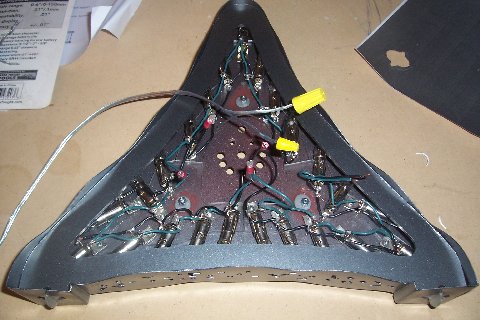
I cut the light board into 3 pieces so I could get it out to change
bulbs. Three screws hold it all down. On the holes in the middle
of the brain. The top hole is for the brain light wires. The next
2 holes are for screws to hold the brain to the cup. The middle
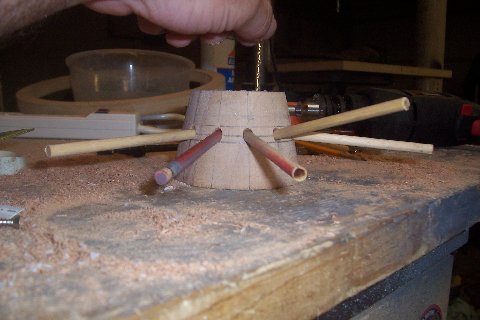
is for the crown shaft and the others are for the 1/8'' round
styrene push rods.
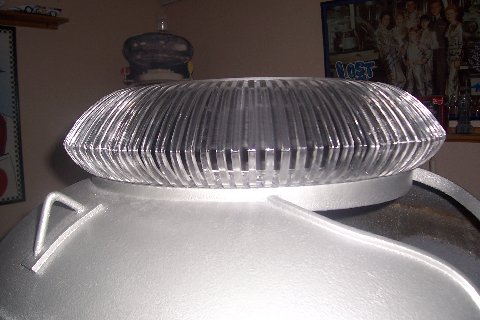
The mirrored stainless steel crown was very easy to make.
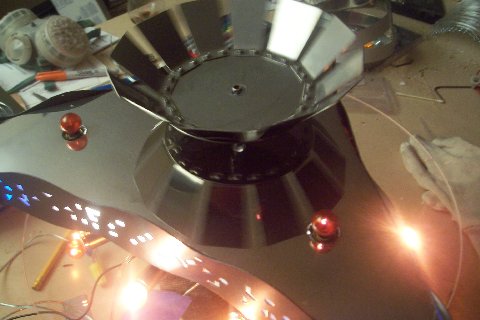
The head section is completely done.

Updated:
08/18/2006
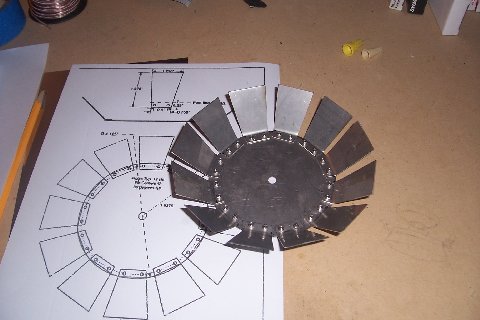
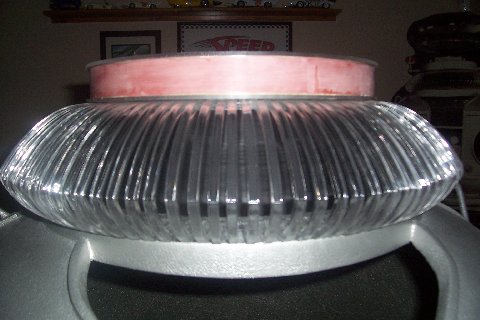
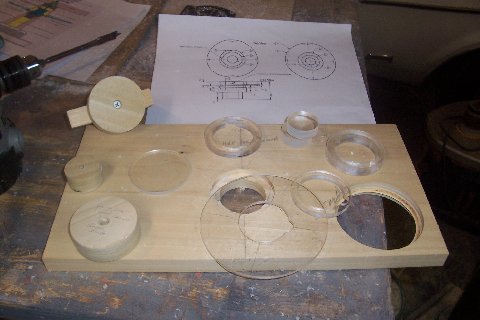
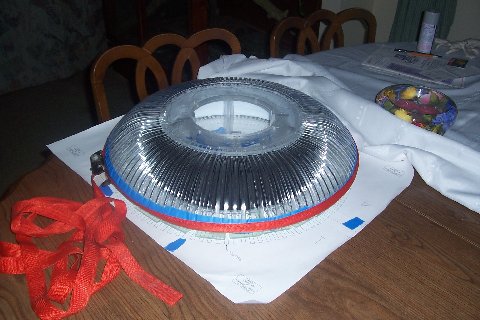
I
made my radar with a tapered top ring, about 15 deg.
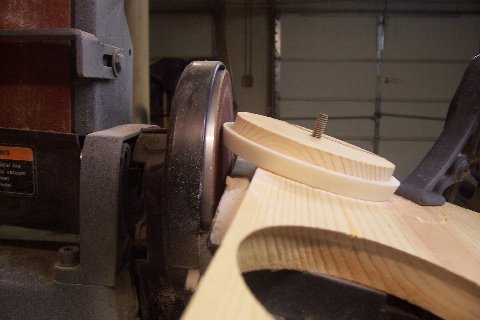
Cutting the grooves in the top section.
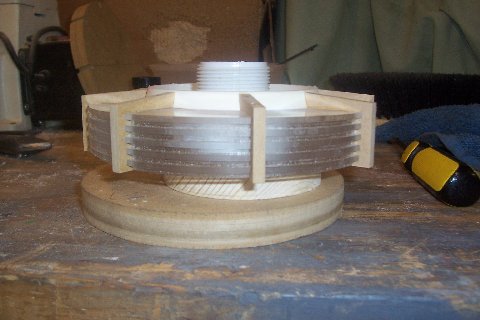
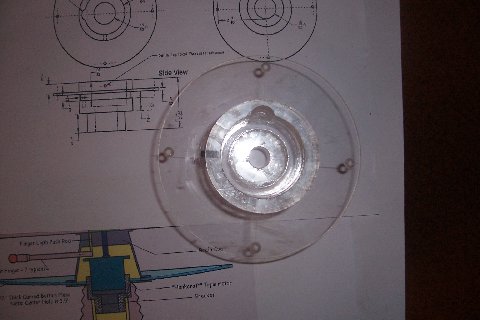
Fitting lazy susan.
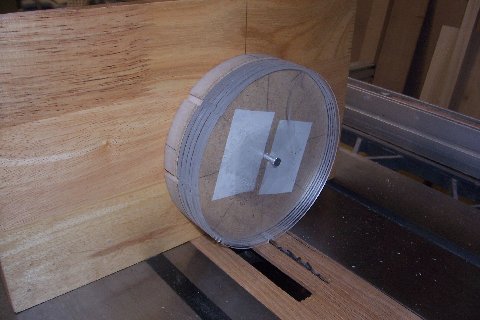
I put a band of 1/8'' plexiglass around the MDF. Bondo glazing
makes it smooth.
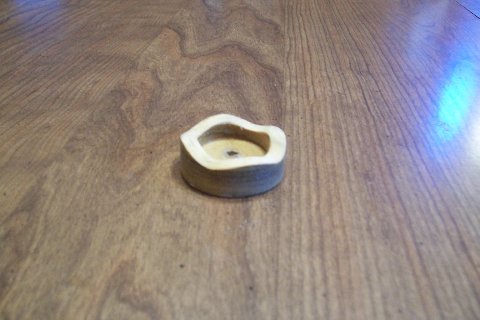
I tried to made the ears look like 3rd season with a bigger end
where it meets the ball. The top caps are solid Bondo. The I.D.
of a small wood flower pot was almost perfect. I coated the inside
of it with Vaseline and the plug popped right out.
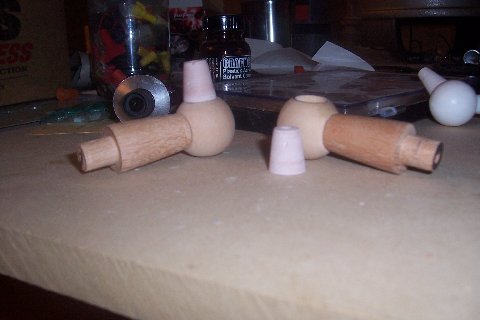
The ears are thin stainless steel with a mirrored back. It makes
a nice effect when it spins.
Wood finger light ends.
Wood ( what else ? LOL ) brain cam.
All right! It works! I'm starting to see some light at the end
of the tunnel.
Updated:
07/10/2006
I made
my brain cup out of some mahogany.
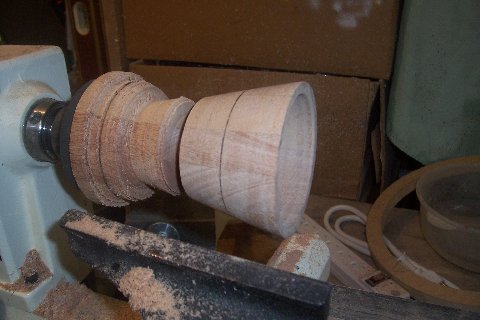
So
far so good.
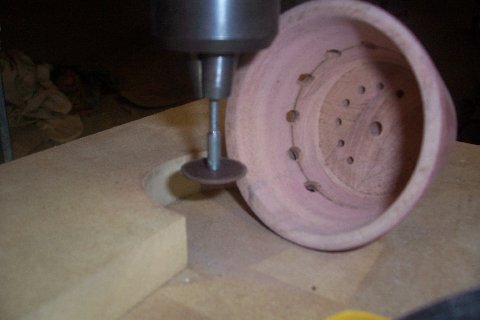
I
covered it with fiberglass resin and glued some plexiglass on
the top and bottom before painting it.
Updated:
06/19/2006
With
a few jigs and a router I made a Plexiglas neck bracket.
When it's painted and installed no one will ever know it's not
aluminum.

Updated:
05/01/2006
The
collar was a lot easier to make than I thought it would be. For
me, the secret to bending good ribs was to get them hot enough.
I heated them on a piece of 1/4'' plywood in my oven at 375 for
about 3 1/2 to 4 minutes. With the wood, the ribs won't
melt and stick to it like they would on a metal baking sheet.
After I had the ribs bent and trimmed I could measure my
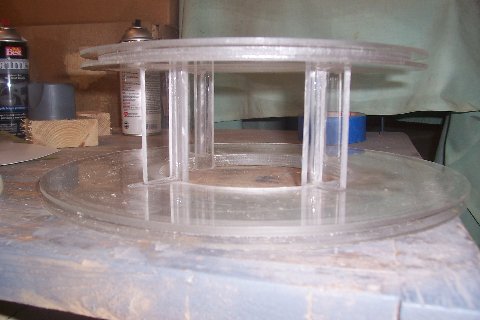
torso for the frame size. I made a sandwich out of acrylic
for the top and bottom rings of the frame leaving the opening
a little loose so the ribs would fit in.
I
laid the collar shroud out with a home made compass on styrene
and sprayed it flat black.
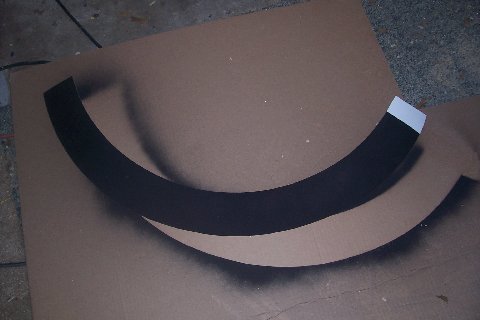
A little
Goop to hold it in place.

The blue
tape held the ribs even. The band clamp may have been over
kill but I wanted the outside even.
Updated:
04/04/2006
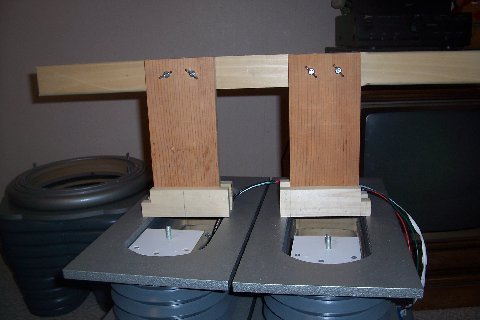
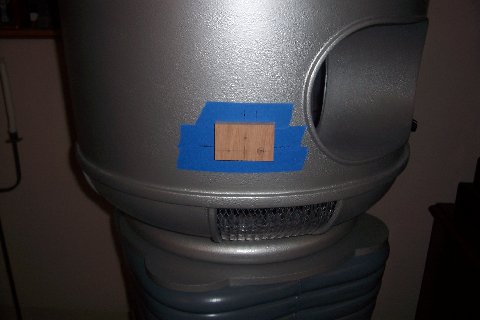
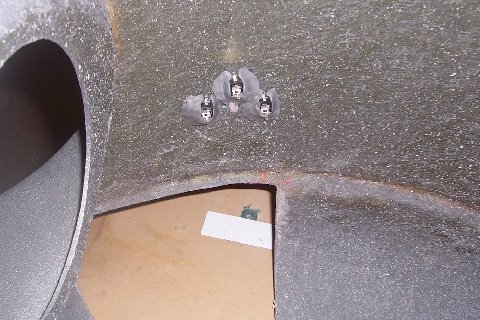
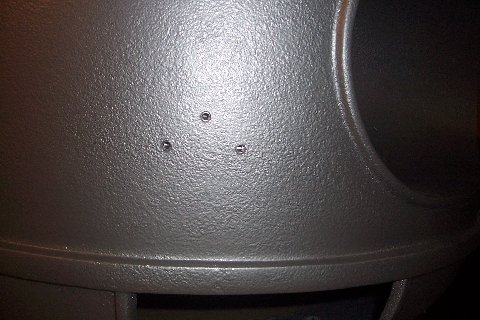
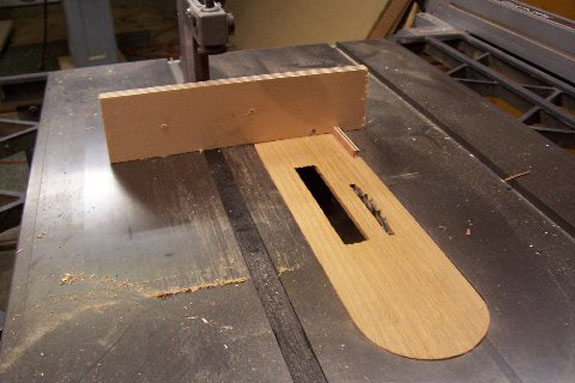
Of
course, I found out after I painted my torso that you're supposed
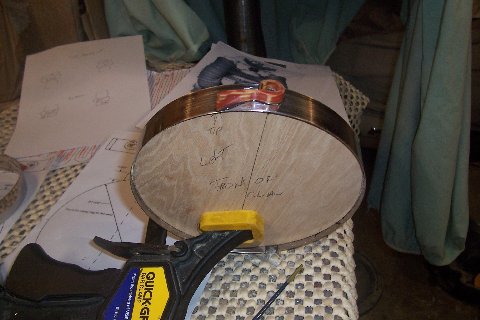
to drill the holes for the power pack first, so I had to do this
the hard way. I cut a piece of wood about 2'' x 3'' and drilled
holes for the pack on my drill press. I marked were to drill the
holes by putting some lip stick on the tips of the pins and pressing
them into the wood. Then I cut the back to match the curve of
the torso with my band saw. I used 2 way tape to hold my jig in
place while I drilled the holes out. The blue painters tape kept
the 2 way tape from possibly messing up my paint.
I used plumbers epoxy to glue in the connectors. Be sure to put
the power pack in the connectors while the epoxy sets or it won't
fit, because of the curve of the torso.

Updated:
03/27/2006
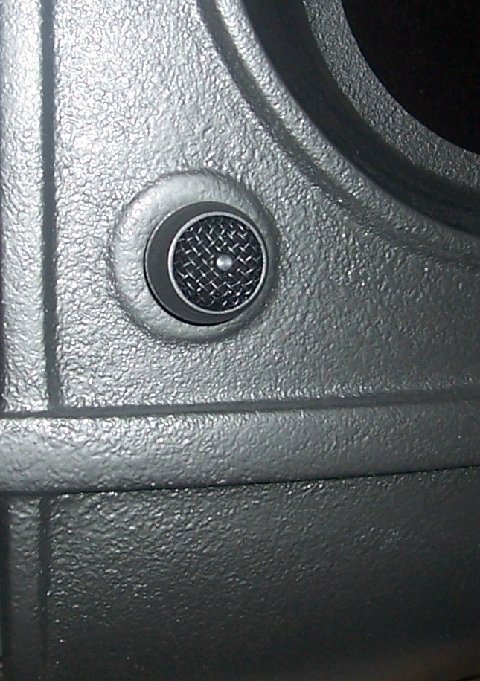
My
microphone is made from a knob I got at Lowe's and an old karaoke
mic. I dry brushed the screen with silver paint and sanded down
a small screw for the middle.
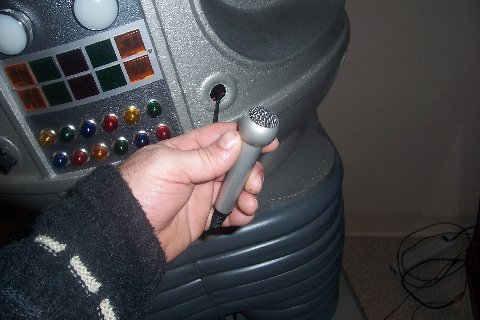
I
got a little carried away and made the whole mic. The handle is
1/2'' copper pipe with a coupler at the top to give it a taper.
A little bondo to smooth out the handle and a cable super glued
to the bottom makes it pretty convincing.
I
made my bezel and buttons with a router some Aluminum and these
jigs.
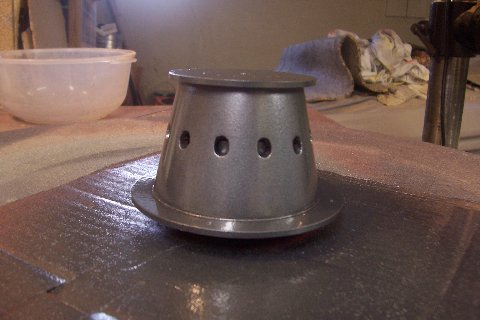
I
got lucky and found this waste basket at Lowe's for $4.58. I cut
it up for my vents.

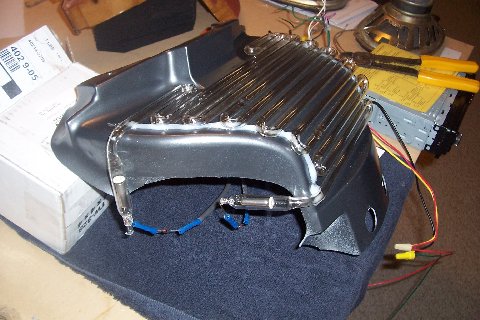
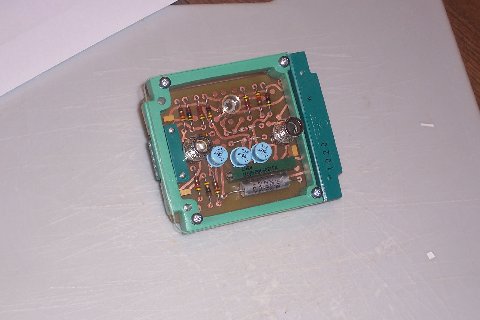
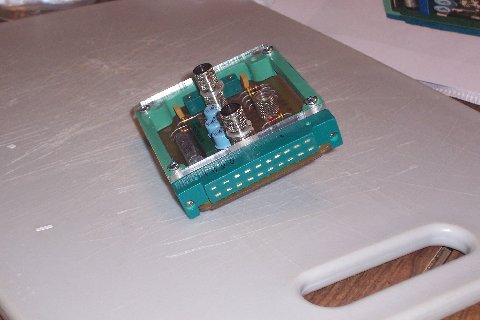
My
power pack looks great but I can't take all the credit. The resin
frame came from E-bay, it was one piece till I cut it up and modified
it to be more accurate. The circuit board is from Mark W. I stained
it to darken it up.
I
had to scratch build the small end connector. I used 3/16'' Aluminum
rod for the plug in's.

I
used a hack saw to cut 2 grooves in the end connector and styrene
to fill in between the brass
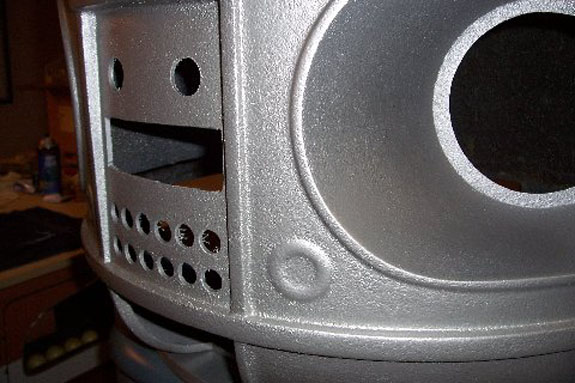
Updated:
02/08/2006
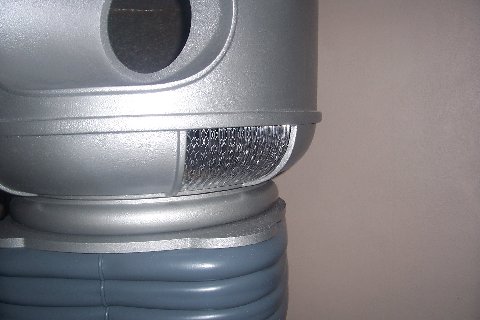
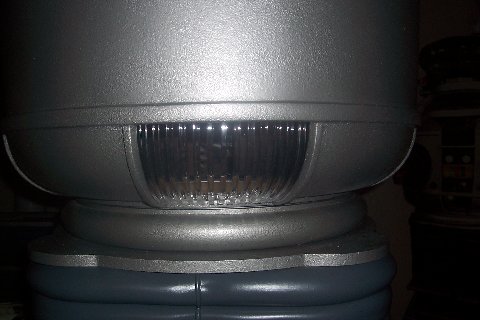
I made my vents using Bob
G's plan's.
Following Bob's instructions made the vents very easy to make.
Thanks Bob.
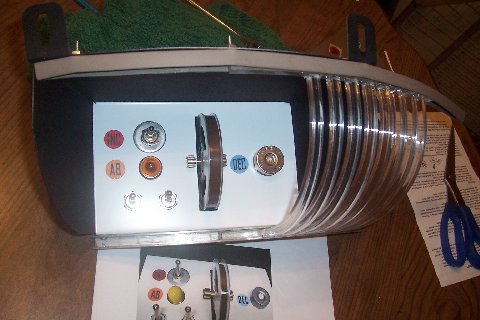
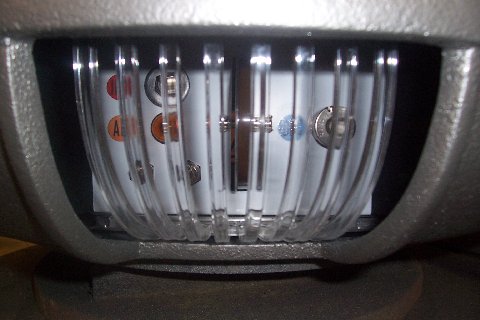
I
also finished the programing bay.
I need to give a big thanks to Craig R. for making the programing
bay specifications available to the club. I don't think
I could have made it with out his research on the part.
Updated: 01/08/2006
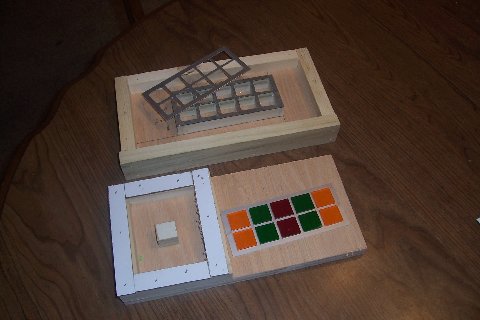
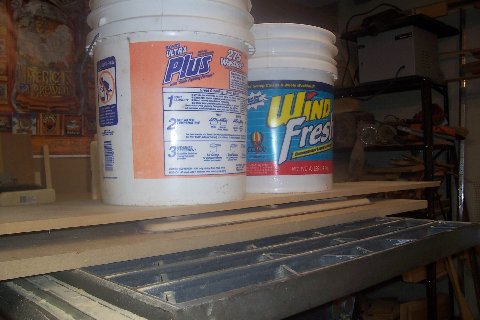
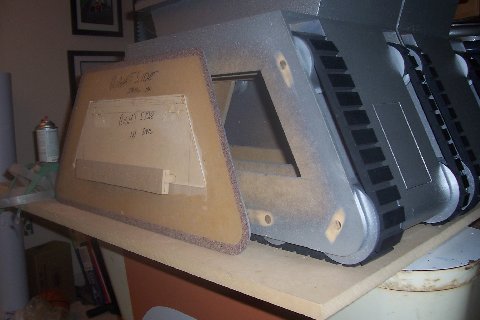
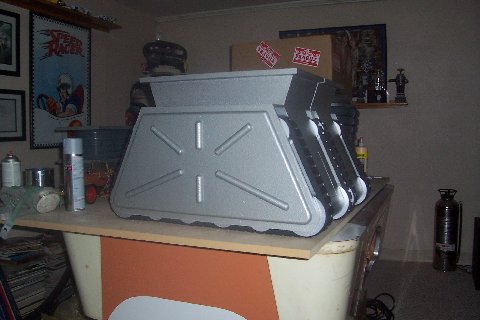
I made my side panels out of 1/2'' MDF plained down to 3/8'' and
glued to 1/8'' Plexiglas. I had to sand or ruff up the Plexiglas
first so the glue would stick, I used Gorilla Glue.
Here's
my low tech way to glue the raised pattern on. Two 5 gallon buckets
of water.
This
bracket is how I attached the panel to the tread section.

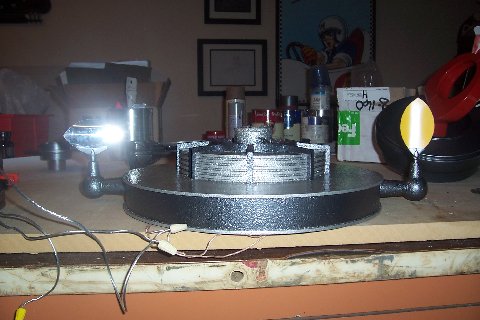
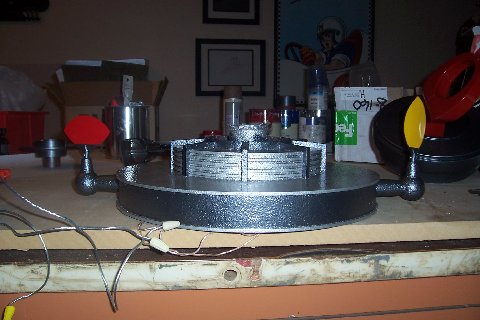
Updated:
12/31/2005
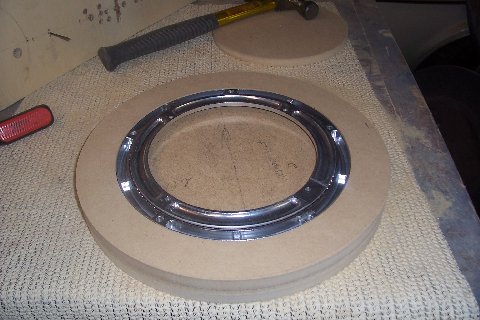
I laminated three layers of MDF together to make my donut, two
3/4''' and one 1/2''.
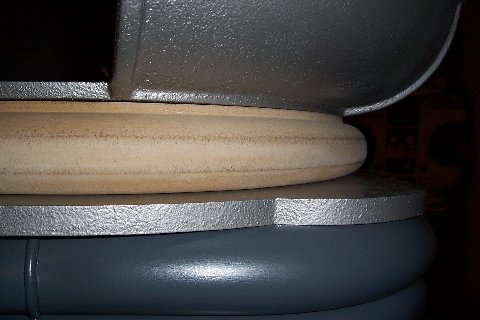
Make
It Stone texture.

All
done.

Updated:
10/05/2005
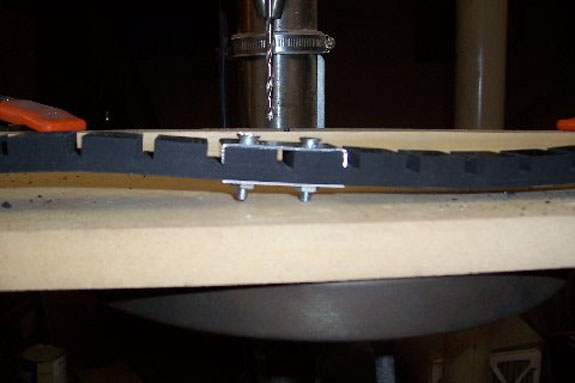
I just finished making and installing my rubber treads.
I cut the rubber into strips with a utility knife and made the
grooves using a homemade box joint jig my table saw and a 1/4
dado blade.
I
made clips out of Aluminum it fasten the treads together.
This way I could get a good stretch on the rubber and hold it
while I screwed it together.
I
think they turned out pretty good.
Updated:
09/26/2005
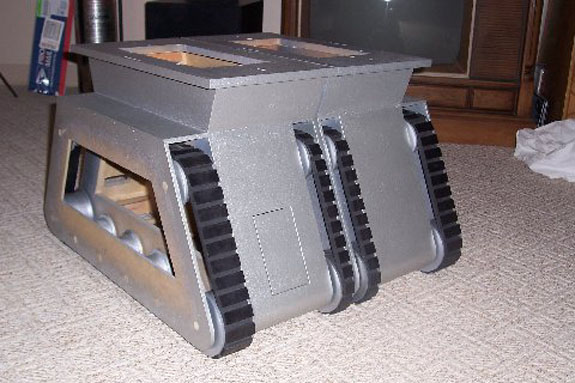
I
finally had my first real stack up. WOW, I'm really building
a robot. My legs and treads are from Mark Thompson's plans,
all MDF and foam with a few modifications. A couple of things
I'd like to pass along On the piece over the wide wheels I used
1/2" instead of 1/4". I cut half the thickness
off the front and back about 3" back so it would still overall
look like a 1/4" . Also, I used a piece of luawn as
a spacer between my treads, it's painted flat black and is practically
invisible. My wheels are PVC pipe with Plexiglas ends. I
cut the wheel sides with my drill press and a adjustable circle
cutter. To make sure the sides were centered on the pipe
I also made circles that fit inside the pipe. Then using
a 1/4" dowel I lined up the inside and outside disks and
glued them together. After they dried they were like caps
for my pipe. So that's 32 wheels x 4 = 128 circles! I
still see them when I close my eyes.
Here is
a shot of my texture. I used Flexstone.


 David
H . ( B9-0262 )
David
H . ( B9-0262 )

