Rubber
Leg Casting Rubber
Leg Casting
By
Dewey H.

The latex must first be tinted. A white and a black tint are added
to the latex after numerous experimental swatches are made to determine
the correct color. Uncured latex is a completely different color
than cured latex so many tests must be done to arrive at the correct
final color.
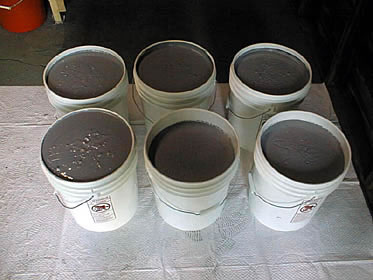
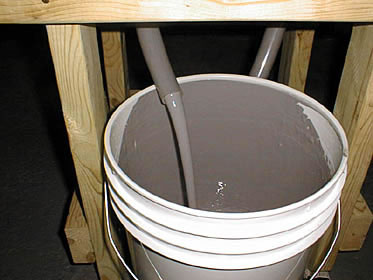
30 gallons of latex is prepared for the casting.
Five coats of latex is sprayed into the mold using a rustproofing
gun run by a compressor with each coat slightly drying between the
next coating.
The mold is then filled to the top with latex and allowed to set
for ten minutes. During this time the moisture in the latex is being
absorbed by the mold and an even film of latex is developing to
build the thickness of the casting.
After the ten minutes is up the latex is drained and the moisture
will continue to be absorbed into the mold. As the latex cures it
turns darker as seen around the edges of the top of the mold.
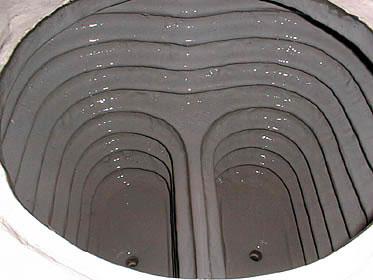
After a skin builds up on the poured layer several more coats of
latex are sprayed into the mold again to even out the surface and
build up any thin spots.
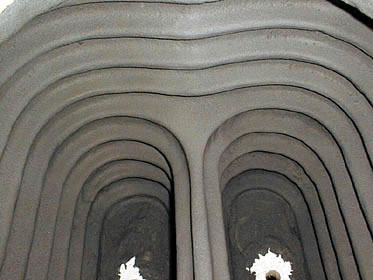
After three to four days of curing the legs are now ready to be
removed from the mold. All areas are firm without any soft pockets
of uncured latex.
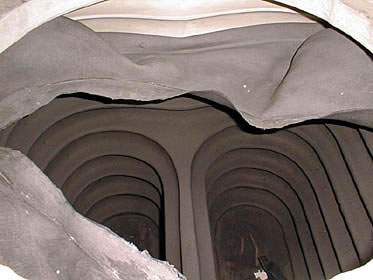
The latex is carefully peeled off the mold and the legs removed.
The rubber needs to be cleaned to remove the chalky appearance
when first demolded.
The outside then needs to be sprayed with a mixture of latex and
acrylic paint for protection and to achieve an even color. This
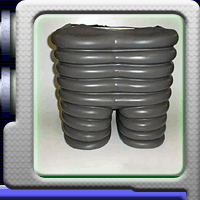
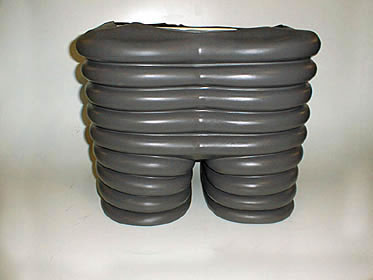
picture shows the casting being supported.

This picture show the legs unsupported.
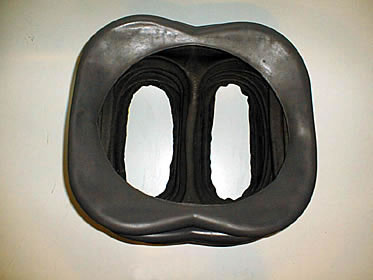
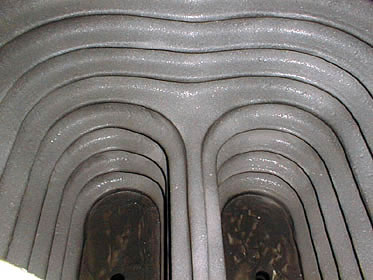
This picture shows the inside of the casting.

This picture is a screen grab from the show showing the legs totally
collapsed.
|