Collar
Construction Collar
Construction
By
Dewey H.

Start by cutting down the 1/4" square acrylic rods to a forming
length 12" to 14" in length using a band or scroll saw.
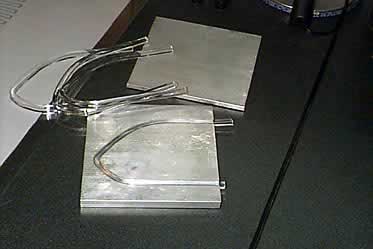
Preheat
your oven to approximately 250 degrees. Place one rod at a time
on a cookie sheet and set your timer for one minute. Continue adding
rods at the rate of one per minute until you have four rods in the
oven. At the next minute mark put a new rod in and take one out
for forming. You only have about 10 seconds to get the soft rod
into the form before it sets. Repeat this process about 108 times!
The times and temperature may vary according to your oven.
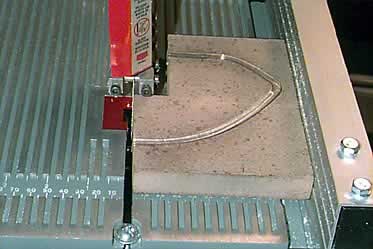
Using
a jig of some type trim the excess acrylic from the top and bottom
of rib so the pieces are uniform in size.
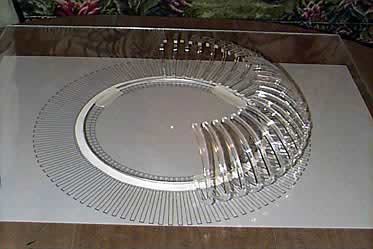
Start
gluing (with Goop brand only) the ribs onto the styrene ring every
other rib. A small dab of hot glue on the end of the rib will allow
you to release the rib much sooner after aligning it. Be sure that
the end of the rib hits the metal ring on the styrene circle.
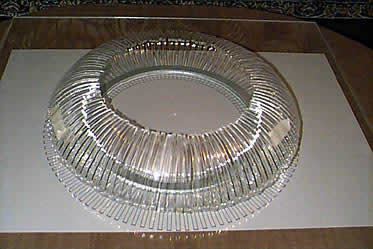
Repeat
the process filling in the remaining ribs until all pieces are in
place. Check the alignment of the ribs and use masking tape to correct
any crooked pieces before the glue sets. The tops may not all be
even but that will get corrected in the next step. Glue the matching
styrene ring inside the collar fitting it to cover the ends of the
ribs and giving the collar added strength.
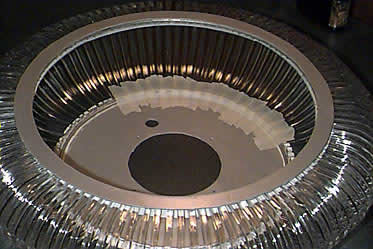
After
the glue has set overnight from the previous step flip the collar
over and glue the tops of the ribs to the 11 3/4" styrene circle.
Align each rib to hit the metal ring attached to the styrene and
check for equal spacing between ribs. Using masking tape secure
the top ribs onced alligned. Let set overnight.

Remove
all masking tape and glue felt ring inside the collar. This prevents
you from seeing through the collar.
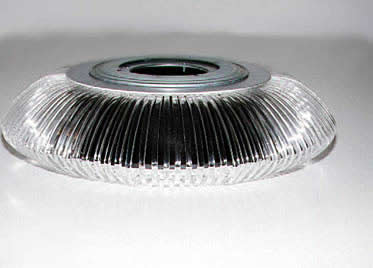
Bolt
the 9" turntable onto the top of the collar and your collar
is complete!
|